That makes it 10 emails from your designer asking you to clarify your feedback.
It’s as if the more you try to explain, the more confused they become.
You’ve tried everything—screenshots, doodles, carrier pigeons—but they still can’t seem to grasp what you’re saying.
Now, you’re not sure what to do. Should you schedule a meeting? Send yet another email? Decisions, decisions…
Fortunately, there’s a better way to give feedback that doesn’t lead to confusion and frustration.
Enter… video feedback!
This type of feedback is more effective, allows you to communicate freely, and provides context for what you’re addressing.
That’s what we’ll be talking about in this complete guide.
When we’re done, you’ll have learned:
- What video feedback means.
- Its benefits.
- How to give video feedback.
- Digital tools to simplify your feedback process.
Let’s get right to it!
Table of contents
What is video feedback?
Our deepest condolences if you’ve had a similar experience to what we just described. Seriously, giving feedback shouldn’t be this complicated.
Well, lucky for you, there’s a solution: videos. Yep, you heard that right. Videos are the secret sauce to efficient feedback. It’s like unlocking a whole new level of productivity.
Video feedback is a process where reviewers visually record their comments on a project or task to provide more context. It’s like having a personal Zoom meeting, but with your PC’s webcam focused on you. It’s a game-changer compared to traditional written or audio feedback.
You can record with your camera on or just your screen (in case you’re camera shy 😉).
When you give video feedback, you ensure that every detail and aspect of the revision is covered, saving you hours of back-and-forth messages.
But wait, there’s more! Here are some other awesome reasons why video feedback is crucial.
Benefits of video feedback
Let’s talk about the undeniable appeal of videos.
According to Wyzowl’s video case study, people are hooked, watching an average of 17 hours of online video content every single week. You heard that right—17 hours! That’s how crazy people are about videos. 🤷
Video content isn’t just engaging and enjoyable to watch—it’s a game-changer for transmitting actionable and concise edit requests. It can help:
- Increase effective communication: When you’re talking with the other party through video, you can nail the exact tone and context of your comment. Plus, if you decide to show your face, those facial expressions of yours can speak volumes and make your thoughts crystal clear. It’s like having a face-to-face meeting without leaving your comfy chair!
- Avoid writing lengthy text: Some things are too complicated to describe in writing. But with a single click, you can use video feedback to explain an idea in less than sixty seconds.
- Provide more context: You’re discussing your brand logo, but your designer mistakenly thinks you’re talking about the web page’s header. That’s where video feedback comes in clutch. You can record your screen while annotating the website so the recipient fully understands your point. It’s like giving them a guided tour without needing a physical presence.
- Save time: Say goodbye to long email threads that leave you scratching your head, wondering how to respond. When you give contextual feedback through videos, you’re reclaiming all that time that would have otherwise been wasted on sending and responding to emails.
- Justify decisions: Tutors, like superheroes of knowledge, have the task of justifying the marks they give to their students’ work. Video feedback can help this process feel less like a critique and more like a helpful conversation.
The tutor can go beyond written comments and screencasts for better context. With screencasting, students can better understand the thought process behind their grades.
Assessment feedback could be just the ticket that adds a much-needed personal touch to online education, making the learning experience more engaging and interactive.
It’s settled: video feedback should be the norm for anyone’s review and approval process (including yours 😉).
If you’re in, scroll down to see where to start.
5 tips for giving clear video feedback
Recording a video might sound intimidating, but fear not. The internet offers plenty of tools and resources that make the whole process a breeze.
But so the recipient perfectly understands your feedback, here are five tips for giving clear video reviews.
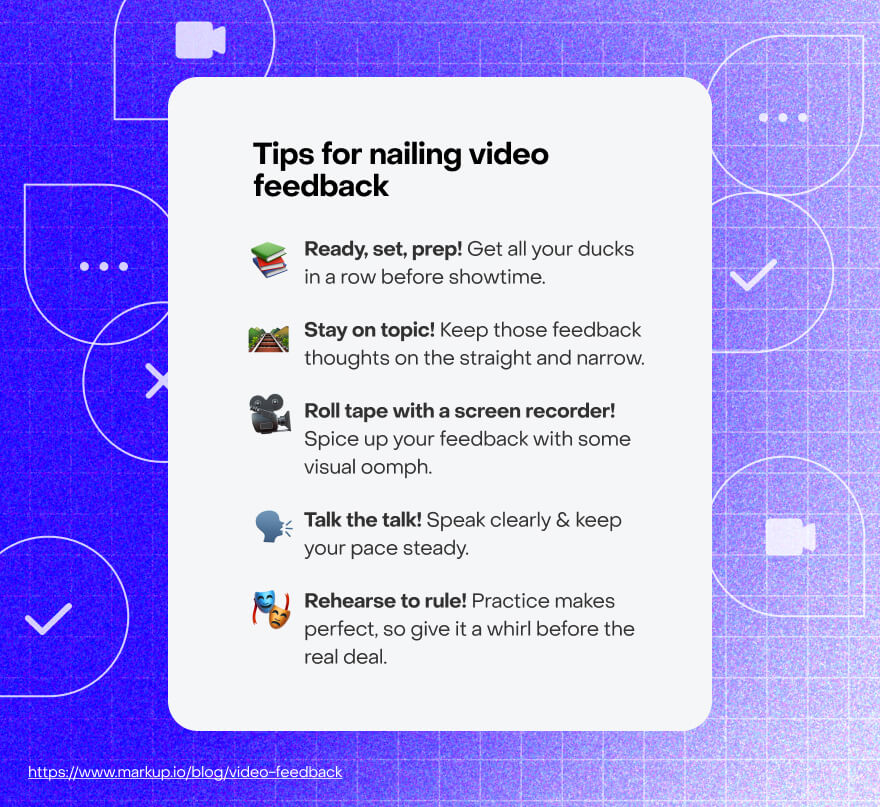
Tip #1: Prepare beforehand
This quote holds when it comes to giving visual feedback: “If you fail to plan, you plan to fail.”
Wise words, indeed.
It might seem like all you have to do is press record and start speaking into the camera, but there’s a chance you’ll mix things up if you do that.
The video needs to be short and straight to the point for the feedback to be clear.
Here’s how to prepare:
- Get familiar with the project and highlight specific issues that need addressing.
- Some things are better communicated in writing. Jot down any edit requests that might be more effectively conveyed through text.
- Create a script or outline of the things you want to say.
- Test your PC’s microphone and ensure it sounds crisp and clear on playback.
- Keep a clear background free of distractions.
- Ensure there’s proper lighting if you’re recording yourself.
- Rehearse the script before recording the video.
Sounds like a lot, right? But, it’s important if you want clarity. So take the time to follow these steps, and watch your feedback game soar to new heights.
Tip #2: Don’t go off on a tangent
Sometimes, there’s nothing more appealing than hearing yourself talk. Before you know it, a 1-minute video has become 2:55 and you’re still recording.
Talk about self-imposed scope creep…
That’s why it’s crucial to stick to points directly relevant to the feedback at hand. Remember that outline we mentioned earlier? It’s your best friend in this situation. It keeps you focused and ensures you don’t go off on unnecessary tangents.
Remember, the recipient of your feedback just wants to know what you think about their work so they can implement it. They’re not looking for a life story or a TED Talk on your motivations for starting a business or becoming a teacher.
At least not right now.
To help you stay on track (and avoid the allure of rambling), here are some tips:
- Again, create an outline.
- Set your phone to DND (“do not disturb”) to avoid distractions while recording.
- Set a timer so you know how long you’ve got.
Tip #3: Use a screen recorder to share references
Now, when someone watches your video, their top priority is understanding what they need to implement. Sure, your dashing face is a bonus, but it’s the valuable insights you share that steal the spotlight.
Use the screen recorder feature on your trusty PC to make your feedback even more tangible. With this little gem, you can share references, showcase your screen, and point out precisely what you mean with your mouse.
Let’s say you want those design borders to be as steady as a rock. While recording your screen, you can drag your mouse across the specific areas you’d like the viewer to focus on. That’s it!
By adopting this approach, you’re providing visual clarity to those hardworking designers. No more brain-wracking or bewildered imaginations trying to decipher your cryptic command of “thinner border lines on the left box by the right side of the design.”
Even the mighty lords of contextual feedback would be left scratching their heads at that one! 😂
Tip #4: Speak clearly and calmly
In this post-pandemic era of remote collaboration, where a brilliant creative team from Belarus can team up with a Fortune 500 company in the heart of New York City, we need to pay extra attention to how crystal clear our words are when we hit that record button. Trust me, it’s more than just a language barrier—it’s often those charming accents that can throw viewers for a loop!
Regardless of where your viewers hail from, it’s your responsibility to speak with utmost clarity. Nobody wants to go through the agony of pouring their heart and soul into a video, only to be met with a chorus of “Sorry, can’t hear a thing!”
So, here are a few tips to save you from wasting your precious time:
- Rehearse before you record.
- Enunciate everything.
- Deliver your message at a calm and steady pace.
Your audience will thank you for it.
Tip #5: Do a practice run
This tip is so important it’s already been mentioned three times. Like they say (don’t ask who ‘they’ are), practice makes perfect!
When you’re good to go and have your script or outline prepared, do a trial run.
Just like you did when preparing for exams in college, create phrases from your outline so you can easily remember them by writing or memorizing them.
Once you’ve got most of those details etched in your brain, set a timer and hit record for a practice run. See how smoothly those words flow off your tongue. The easier it is to remember and switch between points, the more prepared you’ll be when the real recording session comes knocking.
It’s better to invest more time in practicing and getting it right the first time than rushing into a recording frenzy that leads to countless do-overs.
“This is good,” you might be thinking. “But it seems like a lot of work. I’ll need to use video recording software, a screen recorder, and more, just to record one video.”
Technically, it might not be one video, but that’s a fair point. It’s a lot.
It might be time to try a collaboration tool that can help provide clear video feedback.
Best video feedback software
Ready to dive into the wonderful world of video feedback software? Instead of throwing a laundry list of options your way, you’d be better served with the knowledge to choose the perfect tool that suits your needs.
Here’s what you should look out for when selecting the crème de la crème of video feedback software::
- Be intuitive and easy to use. You shouldn’t have to look for someone to train you on how to use the software you want to use. A good feedback tool has to be user-friendly, interactive, and easy to navigate for first-time learners.
- Have project organization options. Can you create folders and assign them to specific users on the software? Can you control who has access to the folders? An effective feedback tool should let you do these things and more.
- Support adding feedback on any type of project. The usefulness of video feedback cuts across different industries, so the software you select needs to support annotation on any project type or asset. It should also support multiple video formats and files.
All you need to do is find video feedback software that meets these criteria.
Maybe something like, oh, I don’t know, MarkUp.io. 😌
MarkUp.io is an online collaboration tool that enables users to leave clear, contextual, and visual feedback.
It makes leaving video feedback on any project a piece of cake. 😉
To leave video feedback on MarkUp.io, visit our homepage to sign up and access the dashboard.
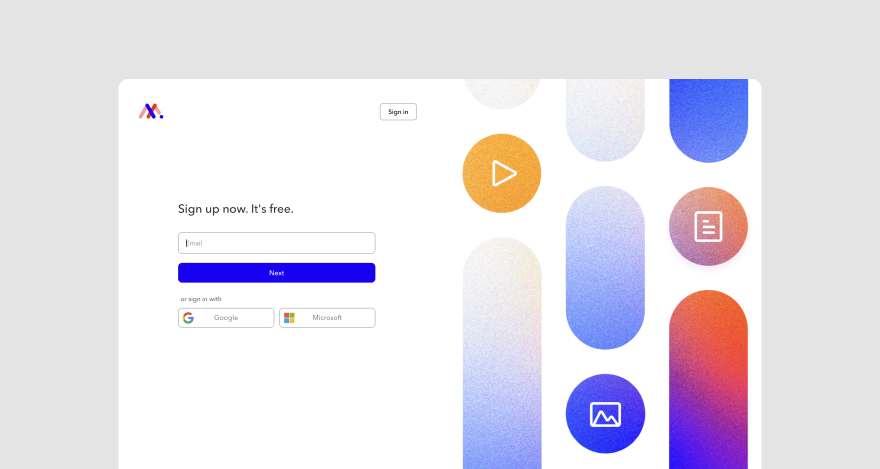
Once you’re in, you can upload the tutorial, design, video production, or any other asset you want to review to the platform.
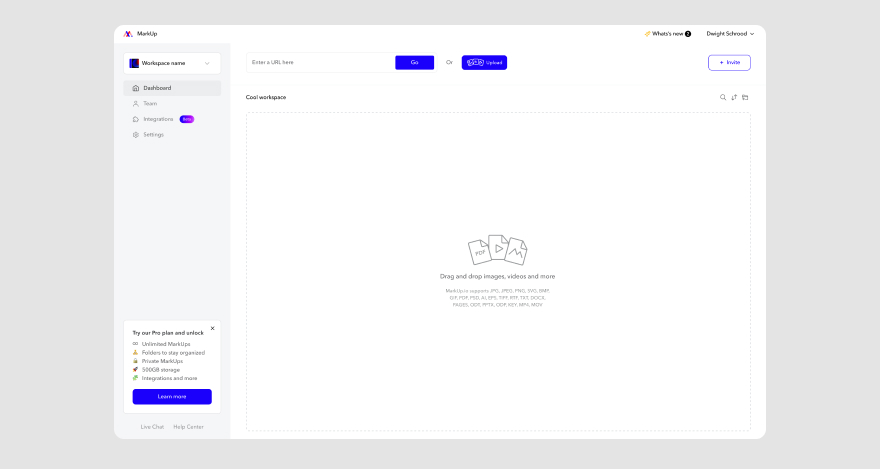
When the MarkUp has been created, it’s time to start annotating. To begin, click anywhere on the file you want to comment on, and a dialogue box will appear.
To record video feedback, simply click the camera icon in the comment box.
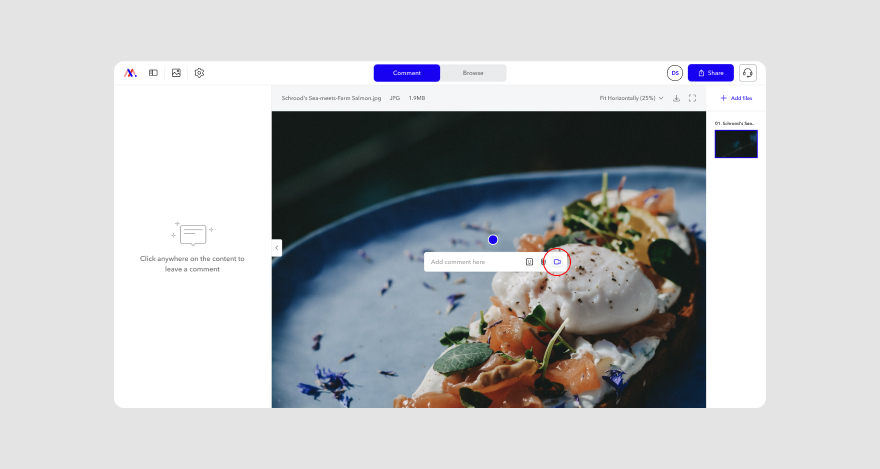
This will open a Loom window, which you can use to record your video feedback quickly.
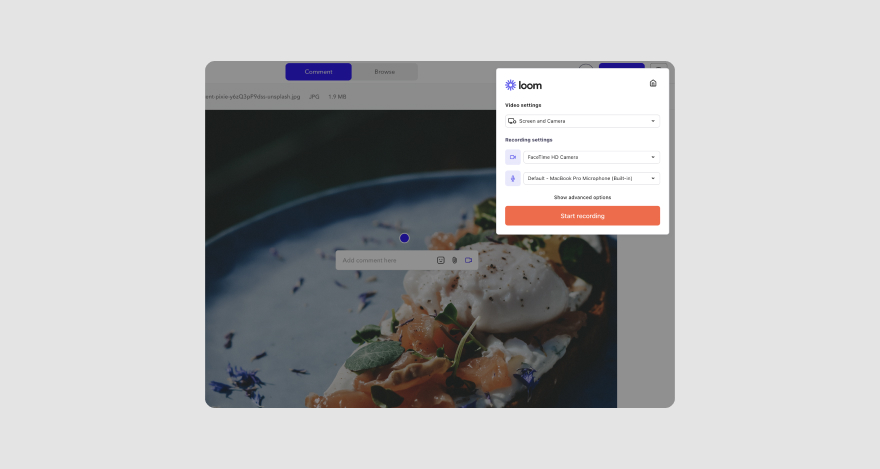
With our Loom integration, you can record yourself and your screen at the same time.
The icing on the cake is that you don’t even have to install any application aside from your web browser.
***
With all this knowledge at your fingertips (like Thanos’s infinity gauntlet) there’s only one future we see you snapping to.
And that’s a future where you can…
Start giving better feedback
We were about to say welcome to your new future — one where the freelancers, students, and stakeholders you work with don’t have a hard time implementing your feedback.
But then we remembered you’ve not signed up yet.
Perhaps, you need a little convincing. Like Doctor Strange before he got his powers.
If that’s the case, we’ve got a 14-day free trial awaiting you once you click here. Take a glimpse into what the future of reviews holds for you.
Till then, congratulations and welcome aboard in advance.

