We’re on a mission to make the video approval process a smooth ride for both video editors and reviewers.
To accomplish this goal, we’ve created this step-by-step guide to help video creators, video editors, content creators, and creative teams add annotations to video content and optimize their video creation, review, and approval processes.
Are you in? 🤩
Let’s take the first step towards a simple and effective feedback process together.
Disclaimer: The information presented in this article was collected from publicly available sources and updated on January 12th, 2024.
Table of contents
#1: Specify your video annotation needs
Before investing in any piece of technology—be it hardware or software—you need to clarify what you need it for.
Video annotation is no different; before researching the market and looking for a solution, you need to define your annotation needs.
We like to think about annotation use cases in terms of personal and professional use.
Video annotation for professional use
Video content creation is not only for fun and games. As we see from social media, video advertising and brand-generated high-quality video content are on the rise.
There has never been a time in history when the demand for video annotation tools has been greater.
Every business—be it a mom-and-pop shop or a multinational corporation—can and should leverage video content to generate leads, onboard new customers, and engage and nurture existing ones.
Additionally, more teams are using short, quick videos for efficient internal communication.
The uses of video content in the business environment don’t stop here. We could go on and on about it for hours. But the point is that video has become an integral part of both our personal and professional lives.
And to simplify the process of project review and sign-off workflow, we use video annotation software.
For instance, in a professional setting, annotation tools come in handy for all sorts of projects, including:
- Customer onboarding: product walkthroughs, tutorials, and explainer videos
- Marketing: testimonials, video ads, and social media videos
- Company culture: company story videos
- Customer engagement: how-to videos, product demos, and webinars (both live and on-demand)
- Internal communication: video presentations, video updates, employee onboarding, announcements, updates, etc.
- Artificial intelligence (AI) projects: labeling video training data for AI models
You get the gist of it—all of these projects get a helping hand from video annotation software.
Video annotation for personal use
The same goes in the case of using video annotation for personal projects. Video annotation tools can help you efficiently ask for your friends’ and teammates’ opinions on your work when you want to:
- Become YouTube-famous with a cool video clip
- Create engaging video projects for school
- Develop that indie film you’ve been dreaming about
- Make a funny compilation of cat videos
- Record a video resume
- Film a video tutorial with your makeup routine
- Capture a rad screen recording when you’re playing Minecraft
Some video annotation tools allow you to easily share your personal projects with anyone you want via shareable links (rather than the usual clunky email attachment).
You can upload the amazing video you’ve created into your annotation tool and ask for feedback from your friends by sending the link via WhatsApp, Instagram, or other messaging apps.
Then, your reviewers can add their critiques and tell you in which frame your hair looks weird by leaving frame-accurate comments (we’ll tell you more about the whole process in a minute).
How to choose the best tool for your needs
However, keep in mind that not all tools are created equal and not all of them can handle your project’s needs. For instance, some tools support only one type of video file format and have certain size restrictions.
To ensure the solution you’re choosing can adequately support your project, you should make a list of your video annotation needs and write down:
- What you’re gonna use the annotation tool for (personal or professional use)
- The video file types you’re using (i.e., do you also need to annotate images?)
- What size your largest projects are
- Whether you need to speed up, slow down, or zoom into the video in the built-in video player of your tool
- The devices you’ll be using when annotating videos (i.e., iPad, desktop computer, etc.)
- The type of annotation you need (i.e., contextual comments)
- The pricing range you’d be comfortable with
Basically, make a list of all the features you need to ensure seamless collaboration with your teammates, clients, higher-ups, and other key stakeholders.
Once you complete the list with your annotation needs, you’re ready to explore the market.
#2: Choose easy-to-use video annotation software
To spare you the valuable time you could’ve spent researching video annotation software online, we’ve gathered the most popular ones in one place. 😉
Below, you can read about each solution’s features and who the platform was developed for.
Aside from looking at capabilities, you should also consider how easy it is to use each tool. The last thing you want is to spend money on a platform that’s supposed to optimize your workflow and then spend weeks or months learning how to use it.
So, when you find the annotation tool that checks all the boxes, give it a spin before making a purchase decision.
Now let’s find out how the list of features of each tool stacks up against your list of needs.
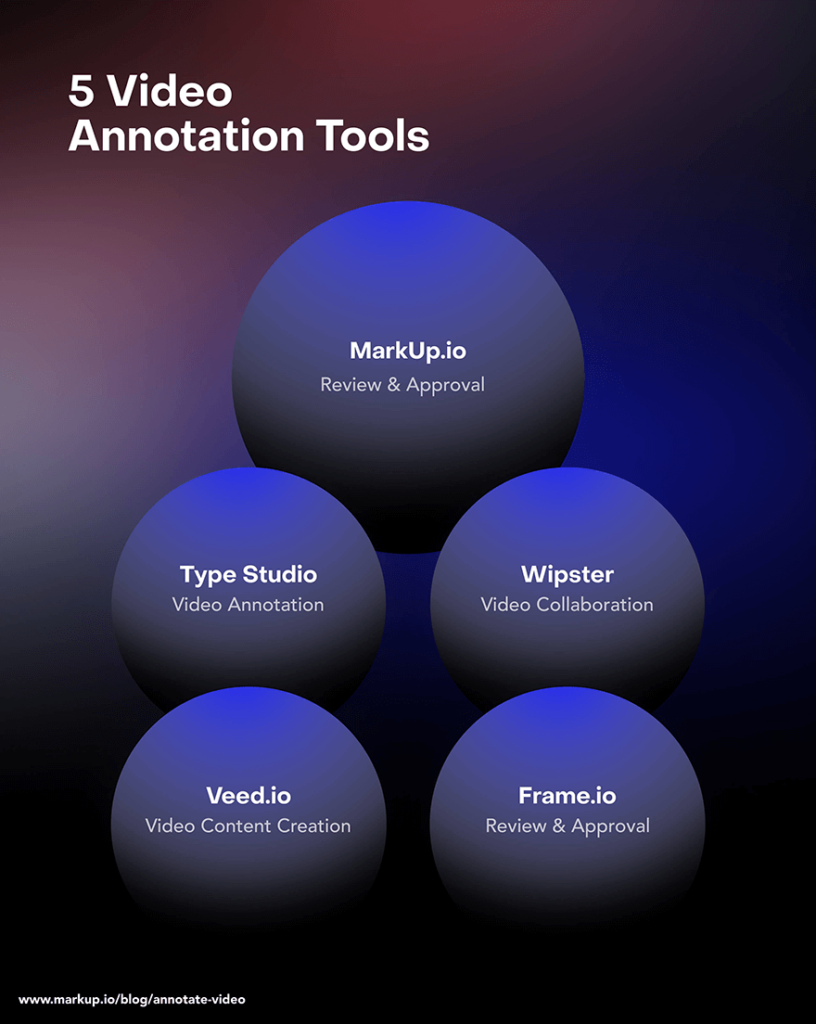
Tool #1: MarkUp.io
MarkUp.io is one of the best visual annotation tools out there.

It’s easy to use, has an intuitive interface, and makes enterprise-grade functionality available for everyone—from amateur video editors and freelancers to small businesses to corporate giants.
Features
MarkUp.io helps users streamline their creative workflows through features like:
- Video annotation for MP4, WMV, AVI, GIF, and MOV file formats.
- Frame-accurate contextual comments: easily scrub back and forth between frames to leave specific feedback.
- Video player: slow down, speed up, zoom, and loop the playback as needed.
Who is Markup.io for?
MarkUp.io’s capabilities can be successfully leveraged by:
- Video editors
- Video content creators
- Project managers
- Advertisers and marketers
- Creative agencies
And more! Simply put, MarkUp.io is ideal for anyone whose workflow revolves around securing approvals on video projects—regardless of team size.
Tool #2: Type Studio
Although Type Studio is primarily a video editing platform, it also features video annotation tools.

Features
The most relevant annotation features offered by Type Studio include:
- Video annotations in the form of images, text, and emojis for file formats such as: MP4., MOV., WMV., AVI., etc.
- Auto subtitling: automatically add subtitles to videos
- Project download: the ability to download your annotated video project
Who is it for?
Type Studio is ideal for video content creators, editors, and any professional involved in video production.
Tool #3: Wipster
Wipster is a video collaboration tool that helps users make their content approval processes easier with asynchronous review capabilities.

Features
The Wipster platform offers features like:
- Video annotation for different file types: .mp4, .m4v, .mov, .mpg , .wmv, .mxf
- Project review status: track project progress
- Side-by-side version comparison: view two project versions on the same screen
Who is it for?
Wipster can be used by any video maker who wants to simplify their video review process and get easy-to-understand and implement feedback.
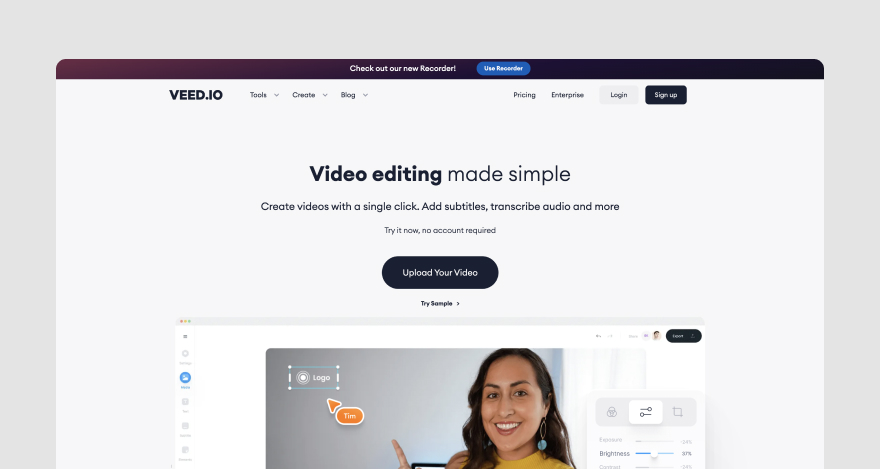
Tool #4: Veed.io
Veed.io is an online video editing platform that provides users with the ability to add annotations, subtitles, translations, and background music to video projects.
Features
Even though Veed.io offers some video editing tools, we’re only going to discuss the platform’s video annotation tools, which include:
- Video annotation for different file types: annotate videos in MP4, MPEG, AVI, FLV format
- Drawing and text annotations: add text, drawings, and other design elements to videos
- Project download: download your annotated video
Who is it for?
Veed.io fits into the video creation and editing process rather than the project approval workflow.
This platform is ideal for video content creators, marketers, influencers, and anyone who needs a quick editing solution for their video projects.
Tool #5: Frame.io
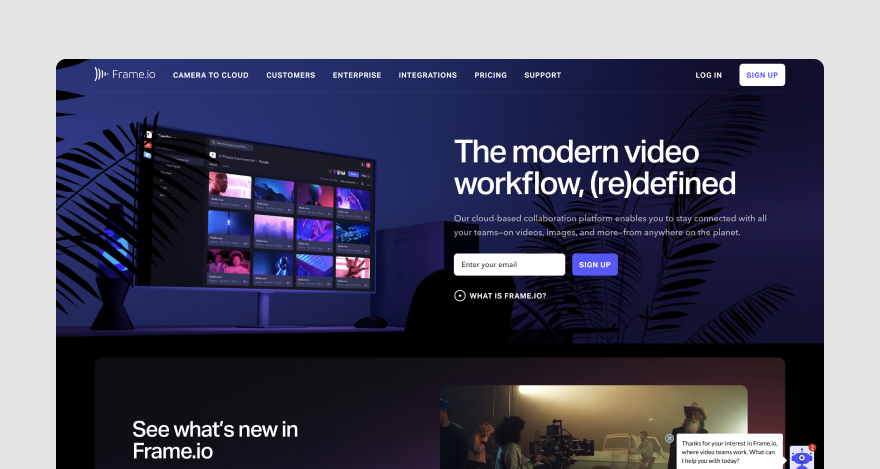
Frame.io is another online proofing tool that allows users to request and provide feedback on video projects through annotation features.
Features
The most relevant features provided by Frame.io include:
- Frame-accurate comments: add comments to video frames
- Drawing capabilities for annotations: circle elements in the video that you want changed
- Side by side version comparison: view two project versions simultaneously
Who is it for?
The Frame.io annotation platform is suitable for video editors and producers that use the Adobe Creative Cloud.
Don’t forget to try things out!
After establishing which tools cater to your needs and picking your favorites, sign up for free trials and product demos to see them in action and ensure they’re super easy to use.
If MarkUp.io makes the cut (and we hope it does 💖), these next steps will surely make you move the platform to the top of your list.
Let’s check out a practical demo that will show you how easy it is to annotate video footage with MarkUp.io.
#3: Upload videos
After you’ve logged into your MarkUp.io Workspace, upload your video project onto the platform.
You can do this by dragging and dropping files from your computer to your Workspace.

You can also upload videos by clicking the Upload button, which allows you to browse through your files and select the project you want to submit for review.
Once your video is uploaded, our platform turns it into a shareable MarkUp link so you can add comments to it.
#4: Annotate videos & notify stakeholders
Your MarkUp is now ready to share with your collaborators, either via a link or over email.

Your reviewers can then open the MarkUp in their internet browser without having to download anything.
Now, the fun part begins!
To pin comments to your Video MarkUp, the reviewer can click anywhere on the image.
Once they do that, the video stops at the exact frame they clicked on and a comment box pops up.
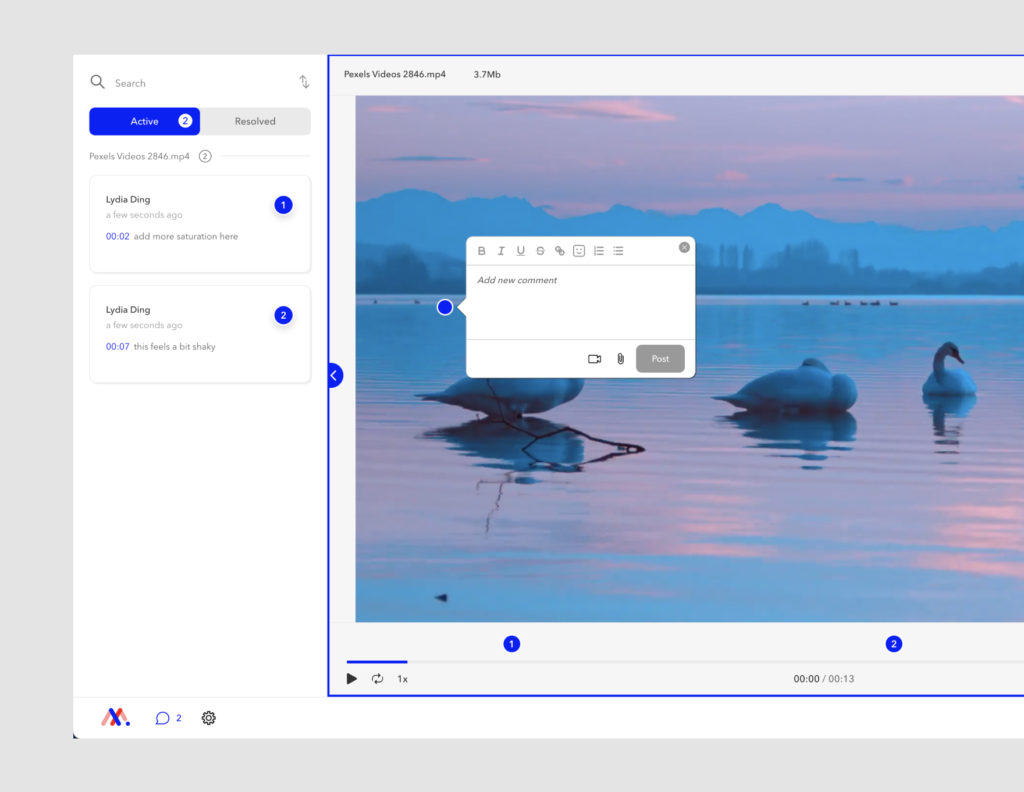
The annotator can write their remarks in the text box, add emojis, and edit their comments as they see fit. Then, they can click on the Post button to comment. Now, it will live in the Active tab on the left side of the screen.
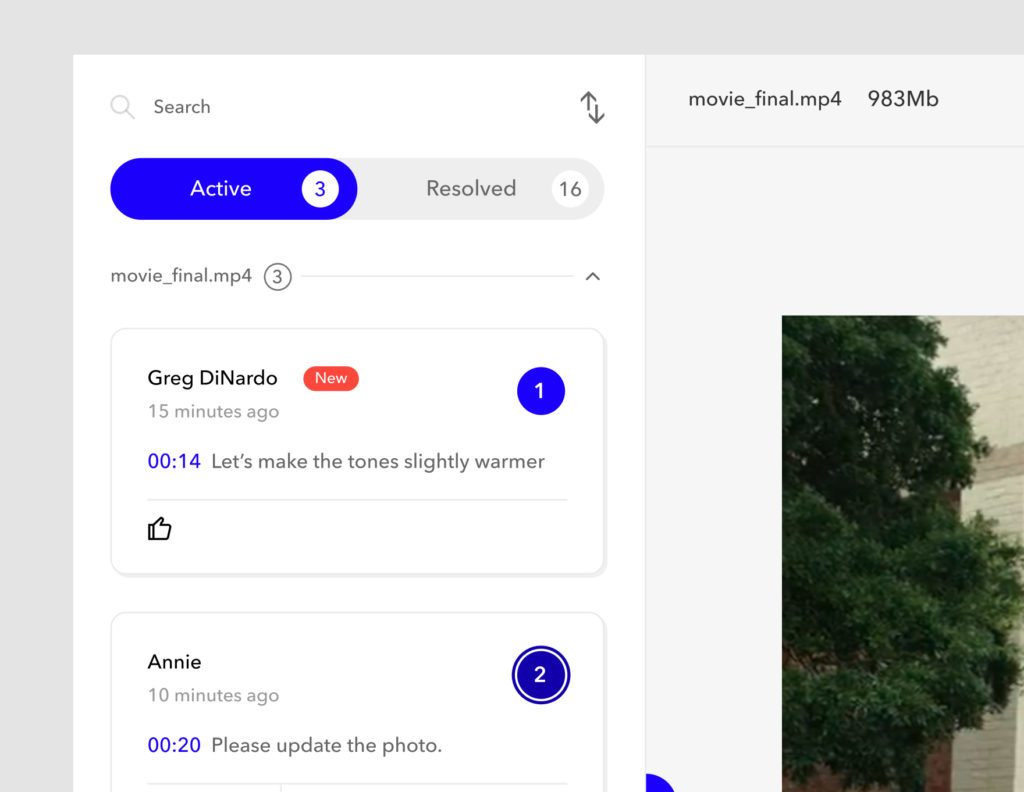
With MarkUp.io, you can let the reviewers do their thing and wait for them to ping you after they’ve provided feedback, or keep your MarkUp tab open and see the comments happen in real-time—your choice. 🫣
#5: Review & resolve comments
Whether you watched the entire comment process go down live or took a break while your work was being critiqued, you still need to come back and implement the feedback you received.
To help you check off revision requests more efficiently, MarkUp.io enables you to:
- Resolve the comments you’ve already addressed
- Reply to unclear comments and ask for clarifications
- Keep your resolved comments in the Resolved tab
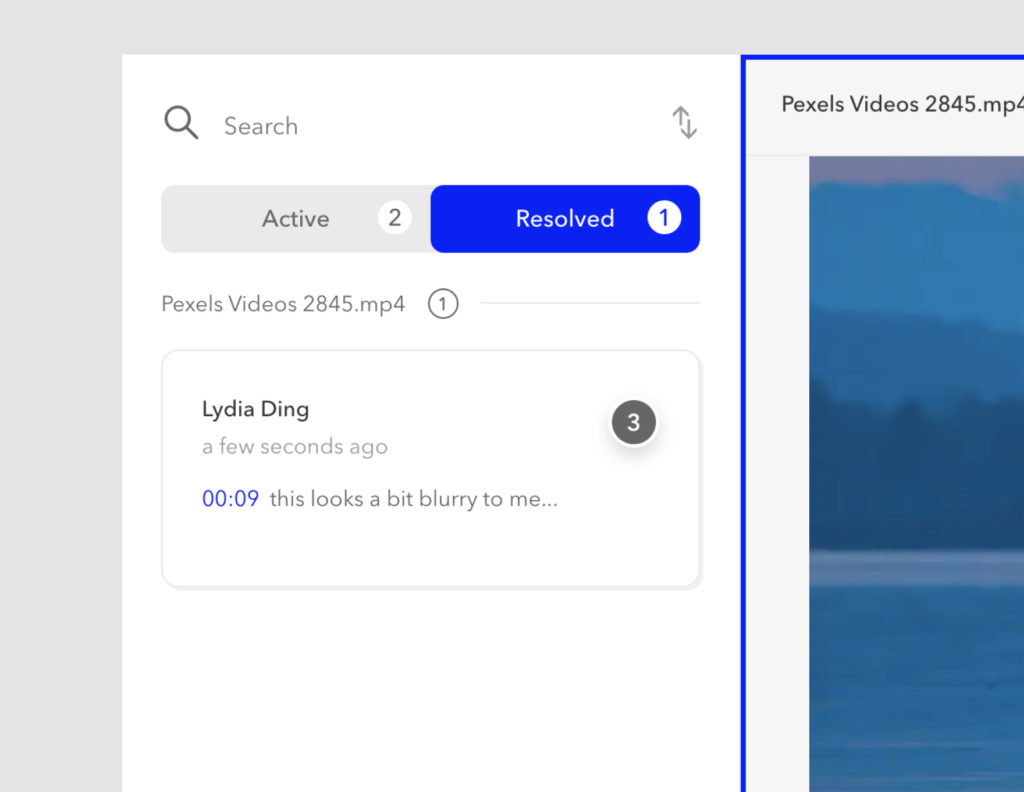
Did someone in the back just ask how to optimize their workflow with a platform like MarkUp.io?
No?
Well, we’re gonna tell you anyway.
Bonus step: Optimize your video annotation workflow
With video annotation on your side, remote work becomes frictionless and your video online approval process is simplified from start to finish.
But that’s no guarantee.
It’s up to you to find ways to optimize your creative workflow with the help of a video annotation tool.
Here are some tips on how to make the most out of your annotation platform:
- Request project briefs in the form of MarkUps so you can easily ask for clarification using MarkUp.io’s doc and image annotation tools.
- Make using annotation tools the standard procedure for the project approval process.
- Use MarkUp.io’s Resolved tab for debriefing and review the feedback again before marking your project as done.
- Expand the critique you receive by going beyond the official reviews and asking for your peers’ opinions to ensure you’re not missing any details.
Annotation tools have the potential to eliminate bottlenecks from your project approval process, but the ability to create an optimized creative workflow is in your hands.
The good news is that you can take the first step towards hassle-free video approval in a few seconds.😎
Now over to you
One thing is clear: you need video annotation to make giving and receiving feedback on video files painless.
And we’re here for you! We can virtually wipe your video editor tears away by giving you the ability to create a MarkUp.io account.
Are you ready for the approval revolution?
Sign up with MarkUp.io to get started!
Frequently asked questions (FAQs)
Q1. What does it mean to annotate a video?
To annotate a video is the process of pinning comments with revision requests on elements from a video project. Video annotation is a part of the video project review and approval process, and it’s usually leveraged with the help of video annotation tools (i.e., MarkUp.io).
Q2. Is there a way to annotate a YouTube video?
To annotate a YouTube video, upload your video to an online video editor with video annotation capabilities and add your comments and design elements to the frames you want.
Q3. How do I annotate an MP4 video?
To annotate an MP4 video, drag and drop your video project onto your MarkUp.io workspace. The platform will create a Video MarkUp, upon which you can start adding frame-accurate comments.
Q4. What is a good platform to use to annotate a video?
MarkUp.io is the best platform to provide frame-by-frame feedback on video projects with its easy-to-use video annotation features. With MarkUp.io, reviewers can pin comments to any element in a video frame. At the same time, the other collaborators can see live comments in real-time.

